Web Forms
DocSpring can automatically generate web-based forms based on the fields you’ve set up in your template. If you send your users a link to this form, they can fill out the form to generate a PDF or, from a Word template, a Word document. You can then redirect users to a different page after they have filled out the form.
You can also embed our web-based forms on your own website. Our embedded form library can be configured with JavaScript options and callbacks.
Web forms support conditional logic: fields can be shown, hidden, or conditionally required based on the value of other fields.
Web Form, Visual Form or Both
Section titled “Web Form, Visual Form or Both”The online form link (/templates/<template_id>/form) can show the web form, the
visual form, or both in two tabs, Form and PDF. With both, the values entered in one
tab are copied to the other when the user switches, and the user can submit from either tab.
The template’s Online Form setting picks the mode, and the mode query
param overrides it:
| Query Param | Shows |
|---|---|
?mode=web | The web form |
?mode=visual | The visual form |
?mode=dual | Both, in two tabs |
The page shows the template’s name at the top, with its description below it. HTML templates always show the web form.
The query params below work in every mode, except that the visual form can’t hide fields: a link with
hidden_fields shows the web form, unless it asks for the visual form with ?mode=visual.
Sections
Section titled “Sections”A long form is easier to fill in a few fields at a time. Click Sections in the template editor’s header to split the web form into sections:
- Add section adds a section. Give each one a title, and a description to show under it if it helps. The arrows beside the title move the section up or down.
- To move fields to another section, tick them and pick the section in Move to, or drag them onto it. To bring a field into the section you’re looking at, find it in Find a field to add above the section’s fields. Drag fields, or use their arrows, to change their order in a section.
- Delete section moves its fields into the section before it (the first section’s go to the next one). Remove sections goes back to one form, with the fields in the sidebar’s order.
- Suggest sections asks AI to group the fields into sections, which uses 1 AI page. Change the suggestion as you like, then click Use these sections, or Discard suggestion. You can close the dialog while AI works: the suggestion is there when you open Sections again. The embedded template editor doesn’t offer it.
- On a locked template or a published version, Sections shows the sections but doesn’t let you change them.
The web form shows one section at a time, with Next and Back buttons and a list of the sections: on the left of the form on a wide screen, and above its fields on a narrow one. It checks a section’s answers before it moves on to the next one. A group or a list of fields stays in one section, and a field you add later goes in the section of the field before it in the sidebar. Once a template has sections, the web form shows its fields in the order you set in Sections, instead of the sidebar’s order.
Sections only change the web form: the visual form and signature requests show the PDF’s fields as they are. The
template’s JSON schema lists its properties in the sections’ order and has the sections in x-form-sections.
Sections are saved with the template’s fields, so once the template has a published
version, they reach your forms when you publish the next one.
Configure Template Privacy Settings
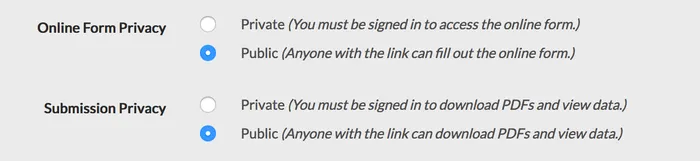
Section titled “Configure Template Privacy Settings”First, you will need to go to your template’s settings and make sure that “Online Form Privacy” is set to “Public”. This will allow unauthenticated users to fill out your embedded form.
Anyone can then create a submission for the template through the API, without an API token. Only your own account’s
API tokens can send data_requests, html, css, password, expires_in or editable with it: anyone else gets a
422 error. From anyone else, field_overrides keeps only hidden, required and backgroundColor.
You may also want to set “Submission Privacy” to “Public”. When this is set to “Private”, the user can save the form, but they will not be able to see when the PDF has been processed. They will also not be able to download the generated PDF.
When “Submission Privacy” is set to “Public”, the user can wait until the PDF has been processed, and you can show them a link to download the PDF.
Query Params
Section titled “Query Params”You can set some query params in the URL to provide default data, set submission metadata, hide some fields on the form, or show a specific template version.
Set Default Data
Section titled “Set Default Data”?data[field]=<value>?data[nested][field]=<value>?data[array][][field]=<value>
Use the following syntax to set default data for nested fields inside objects or arrays:
| Field Name | Query Param |
|---|---|
name | data[name]=John |
person/name | data[person][name]=John |
person/0/name | data[person][][name]=John |
person/0/name and person/1/name | data[person][][name]=John&data[person][][name]=Bob |
Example: Set default values for the name and email fields.
https://app.docspring.com/templates/tpl_1234567890abcdef01/form?data[name]=John%20Smith&data[email][email protected]An empty value, such as data[name]=, leaves the field blank.
Set Submission Metadata
Section titled “Set Submission Metadata”?metadata[<key>]=<value>
Example: Set an internal userId value in the submission metadata:
https://app.docspring.com/templates/tpl_1234567890abcdef01/form?metadata[userId]=123Example: Change the PDF filename by setting pdf_filename in the submission metadata:
https://app.docspring.com/templates/tpl_1234567890abcdef01/form?metadata[pdf_filename]=MyGeneratedPDF_123Hidden Fields
Section titled “Hidden Fields”You can also hide some fields on the form by passing hidden_fields as a list of comma-separated field names.
?hidden_fields=<field_1>,<field_2>,...
Example: Set a default value for the name field, and hide the field:
https://app.docspring.com/templates/tpl_1234567890abcdef01/form?data[name]=John%20Smith&hidden_fields=nameExample: Set a default value for the person/0/name field, and hide the field.
(You don’t need to use any special syntax for nested fields in hidden_fields. You can refer to the original field name, as shown in the template editor.)
https://app.docspring.com/templates/tpl_1234567890abcdef01/form?data[person][][name]=John%20Smith&hidden_fields=person/0/nameTemplate Version
Section titled “Template Version”Pass version to show a specific template version. Submissions from the form use the same version.
?version=<version>
Example: Show version 1.2.3 of the template:
https://app.docspring.com/templates/tpl_1234567890abcdef01/form?version=1.2.3After the form is submitted
Section titled “After the form is submitted”The web form shows a success screen in place of the form: a title, a message, a Download PDF button once the PDF is ready (when “Submission Privacy” is “Public”; a Word template’s form links to its Word document or OpenDocument file), and a Fill out again button, which clears the form for the next person. Set the title, the message and the button in the template’s Forms settings. Visual forms show their own confirmation.
Variables
Section titled “Variables”The title, the message and the redirect URL can show what someone submitted. Put a variable in double braces:
| Variable | Value |
|---|---|
{{ data.first_name }} | A field’s answer |
{{ data["first name"] }} | The answer to a field whose name has spaces |
{{ data["tenants/~/email"] }} | A field in a list: each row’s answer, separated by commas |
{{ metadata.campaign }} | A value in the submission’s metadata |
{{ template.name }} and {{ template.id }} | The template’s name and ID |
{{ submission.id }} | The submission’s ID |
For example, the title Thanks, {{ data.first_name }}! shows “Thanks, Ann!”. The success screen shows each answer as
the form showed it: a date in the template’s date format, and a checkbox as Yes or No. A field that was left empty, or
that a conditional logic rule hid, shows nothing. An answer is shown as
text: a web address that someone typed doesn’t become a link.
These are the variables of email actions, without account.name,
filters or tags such as if. When you save the settings, anything else in double braces is an error.
Redirect to a URL
Section titled “Redirect to a URL”After the user submits the form, you can redirect them to a different URL instead of showing the success screen. The redirect URL can be configured in the template settings.
The submission ID, template ID, and template name will be appended to this URL as query params:
https://example.com/?submission_id=sub_123&template_id=tpl_123&template_name=My%20Template
The URL can have variables after its ? or #, such as
https://example.com/thanks?name={{ data.first_name }}. Each value is URL-encoded, as the submission’s data has it: a
date as 2026-11-04, and a checkbox as true or false. A variable can’t go before the ?, so the URL always goes
to your site.
On a signature request page, the template’s redirect URL gets its metadata variables
from the submission’s metadata, and the page gets only the values the URL names. A redirectURL you pass to
Signature Requests JS has no metadata values, because the person
signing could change it to name others: put them in the URL yourself.
When “Submission Privacy” is set to “Private”, the user will be redirected as soon as the form has been saved. When “Submission Privacy” is set to “Public”, the user will be redirected after the PDF has finished processing.
Custom Logo
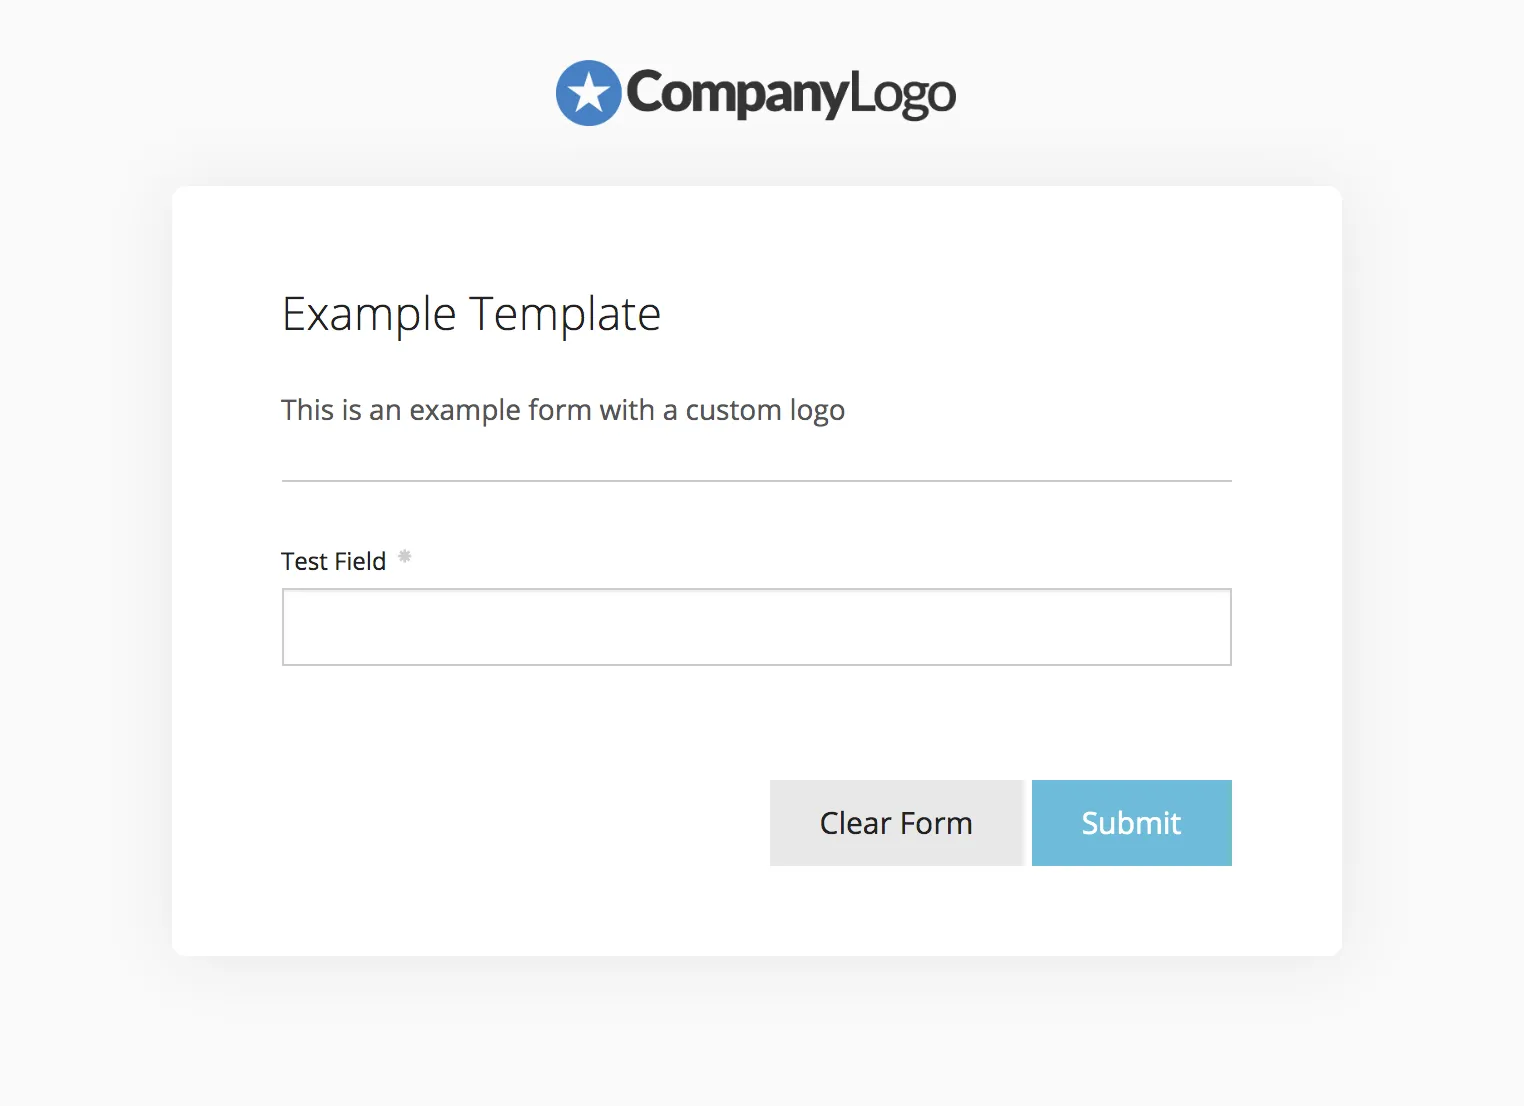
Section titled “Custom Logo”You can display a custom logo at the top of hosted web forms.
Visit the Account page, click the “Browse” button under “Logo for Web Forms”, then select an image file. You should upload an SVG image, or a JPG, PNG, or WEBP image with a width of at least 400px. The max file size is 5 MB. For best results, your image should be a horizontal rectangle:

Click “Save” to upload your image. When you visit a template form, you should now see your logo at the top of the page: